Scheduling basics
The Scheduling feature on Camelo helps you create shift schedules for employees and send schedules to employees instantly. Scheduling on Camelo basically includes adding shifts to a schedule and publishing the schedule.
Shift blocks
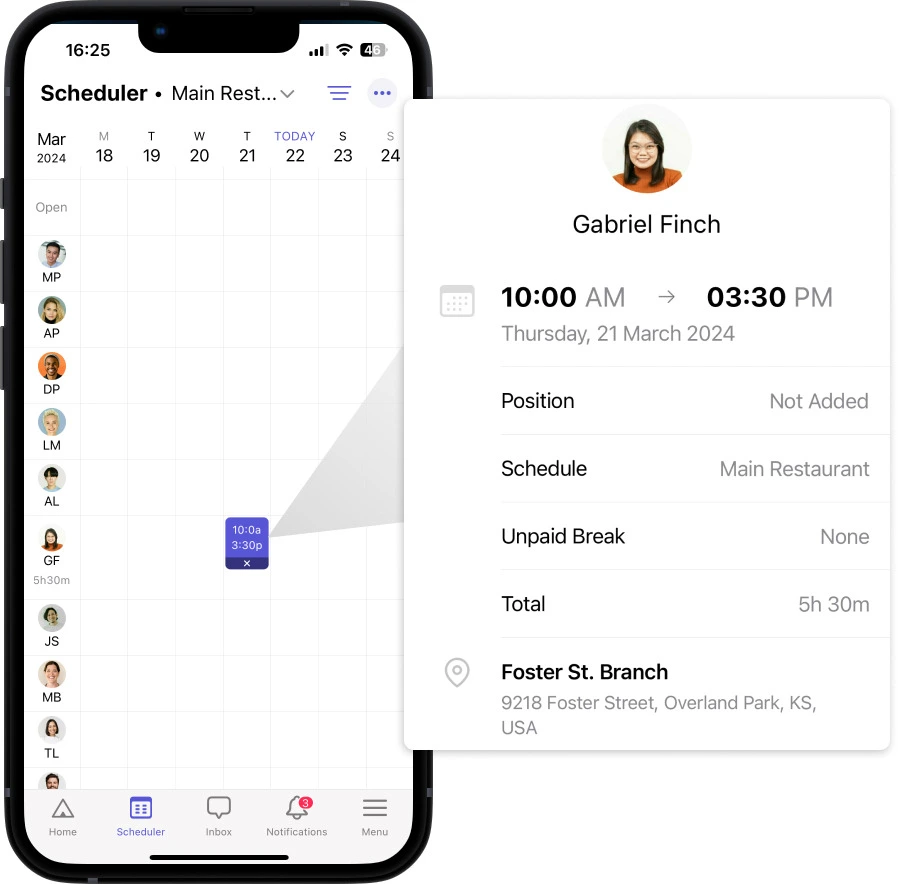
A schedule on Camelo is made of shifts. Shifts are displayed as blocks on the calendar. Each shift includes these details:
- Employee: The person who’s responsible for the shift.
- Start and end time: When the shift starts and ends.
- Break duration: The length of the break.
- Position: The duty/title/job of the employee working the shift.
- Job site: The location where the employee works the shift. It can be on-site or off-site.
- Shift status: The status of the shift (confirmed, rejected, late, etc.)
- Note: Note from the manager/scheduler.

Add shifts
To build a schedule and send it to your employees, you need to add shifts to the schedule first. You can do so in the Scheduler on Camelo.
To add a shift, simply click/tap a cell in the schedule and enter the shift details.
Publish the schedule and send it to your team
When you add shifts to a schedule, those are just draft shifts that only you can view. Feel free to adjust the schedule until it’s ready to be sent.
Once you’ve finished adding the shifts to the schedule, you need to publish the schedule so your employees can view their shifts. Tap Publish x draft shifts and select the publishing option you want. You can choose to notify employees or not, as well as require confirmation from them.
